DAY 2
Hmm, so I've had a delivery of what I actually ordered and then remembered what I'd been thinking at the time.
Because this is also going to be an entertainment system for the garden, then I am using OSB to make an inner wall, then will do all the fancy Tardis looking bits in standard ply on the outside, solving 2 problems of hiding cabling, speakers and such, as effectively there will be a cavity and OSB being a sponge if I don't coat it properly, then it'll be protected a bit more by the standard ply.
Obviously I will be using outdoor paints, sealants, etc. anyway, but there's not going to be too much on show if all goes to plan.
So, what actually turned up?
3 sheets of 18mm OSB for the floor & roof
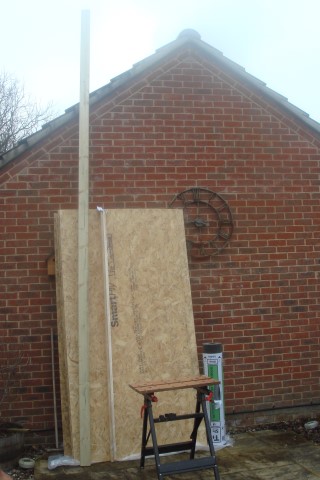
4 sheets of 9mm OSB for the walls
10 (LONG!) lengths of 2 x 4 pre-treated timber to make the base and side supports.
1 pack of trim to round off the edges if I feel really adventurous. (this was actually really cheap clearance stuff and I can always use it for something else)
1 x tin felt adhesive
10m roll roofing felt
450 x 7mm screws
200 x 3mm screws
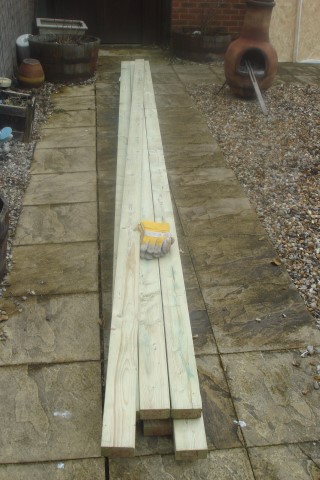
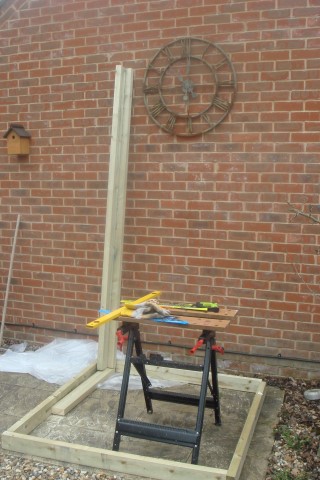
Now I will just say, one thing I should have thought about, well, two actually, is that when you measure something that's laying down and think, great I'll get 3 lengths out of that, it is going to be a lot longer than you remember when you try to pick it up to put in the garden.
As you can see, I've only stood one of the 2 x 4 lengths up to show the size, buy needless to say I felt like I should have been in the Scottish Highlands in some caber tossing event trying to get these through the gate one at a time!
Also, the weight of 18mm OSB/Ply is heavy, REALLY heavy, when the sheets are over 8 foot high!
Still, you live and learn. Time to get the saw out and cut some lengths down so I can get it all in the shed....
DAY 2 PART 2
In between real world work I managed to do a bit of cutting, but as i hadn't got around to replacing the blades on the electric saw, it's all being done by hand at the moment.
Still, probably a bit of luck as the first thing i noticed after cutting the first four pieces was my maths was way out....
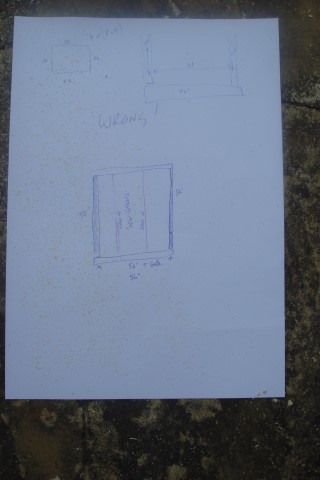
I had thought, make the four base sides pieces 52" long and then that would give me a square 52 x 52 x 52 x 52. But of course, it doesn't as i hadn't taken into account the fact I actually need to join them together.
So, a quick couple of changes to my calculations and some of new bits the right length (56") and we're off again.
And suddenly a shape!
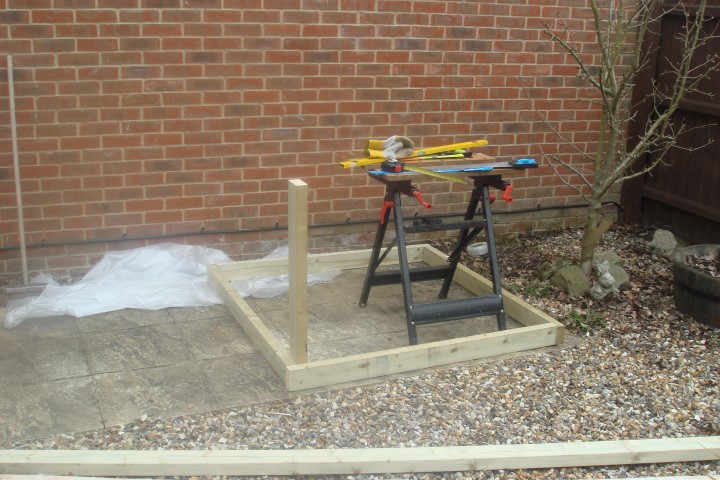
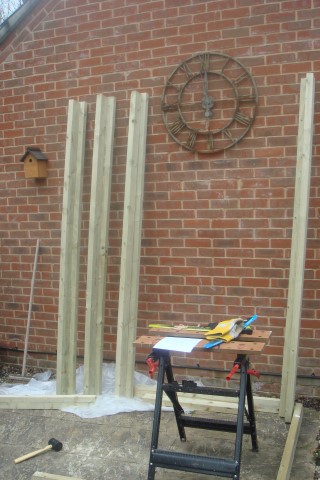
Next was a go at making the corner columns, as if nothing else, then it makes it look like I'm heading in the right direction.
I remeasured the long 2x4's that turned up and found they were actually 4810mm long, even i can get this one, cut slap in the middle of 4 and all of a sudden there are the first pair
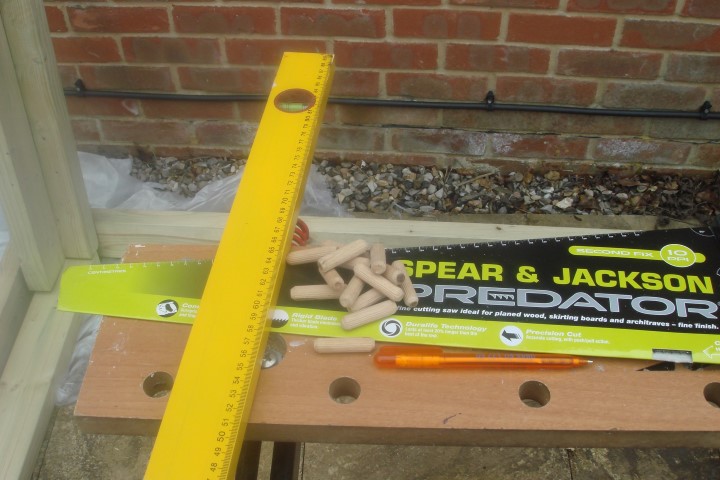
I also had a thought on joining them without screwing together initially, had a rummage in a box in the garage and found some woodwork bits, probably left over from some DIY unit that had "spares", but handy for this anyway, as I can stick them together and pull apart until I'm ready for permanent fixings.
A few more goes with the trusty hand saw and all 8 pieces for the corners are cut. A small off-cut to put in the middle as a support and that'll do for today (especially as i suddenly realized i haven't got all the material for a fancy dress costume I need for next week ,so off to the local needlework shop!)
And there we have the end of Day 2, which will be the last working day on this until next week so it's all been laid flat and stuck in the shed.
I'm actually borrowing bits of ideas from builds such as The 10 Day Tardis, the YouTube video for I Built A Tardis and plenty of others, so thanks to everyone for sharing.
OK, so I know I'm not going for scale or precise measurements like some of the proper builds out there, but then I can't really follow plans so hopefully it'll still look the part and I can tweak the sizes before final assembly. maybe.
To be continued....