DAY 21
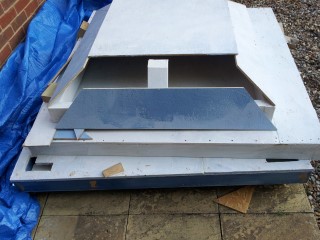
Today seemed to involve a lot of cutting for only a couple of pieces of wood, although that's probably because I'm hopeless with measurements and have no real plan in mind.
I actually realised today that my spirit level (see I remembered the technical name for that one!) which I'd been using to measure everything, actually has the ends missing, so it sort of starts at 0.5cm and finishes at 89.5cm, rather than 0-90.
Probably explains some of the re-cutting.
So on with the show in todays lesson on as to why you should always listen to everyone else on here and have a plan, and not just go full steam ahead with a scrap of paper and a picture in your head like I have!
Oh and I apologise for some of the photos today, the sun was so bright coming through the trees it can make it hard to see what I'm trying to show.
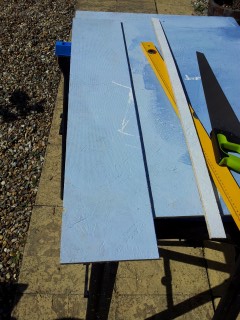
First thing, start cutting the next side.
It's about 21cm (I say about, as that's really as accurate as my plan gets, think of a number.....)
It was slightly too long, so it'll need cutting back a bit

Yes, that really was the line at the edge, but with the trusty old handsaw I managed to cut it off pretty well
So, a quick check and the length was correct which meant next up was the 45 degree slants on each end.
Simple enough, or so I thought.
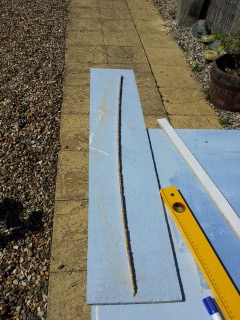
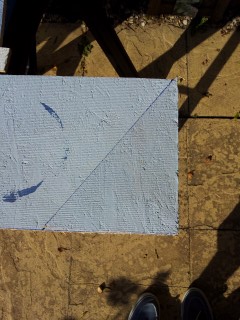
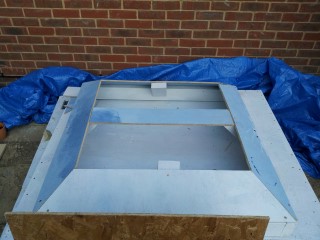
Having drawn the lines on, something didn't look right, so I held it against the existing side to see what would happen.
It was completely out!
No idea why as the first piece had 45 degree angles as that's what I could draw using the side of the handsaw (there is method in my madness... honest)
Luckily I hadn't actually cut it at that point, so remarked and drew a line from where it needed to be, you can see from this how far out I would have been!
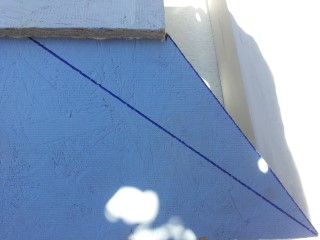
The inner line is the first one I drew.
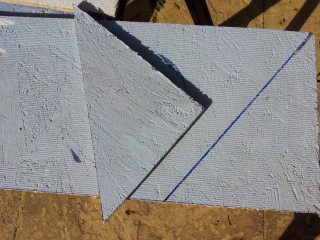
But after remarking and cutting at the right angle, it was on.
Side 3 up next, marked out before cutting again seeing I was so far out last time.
And that's actually almost exactly right.
So how did I improve my guesswork so much I hear you ask?
Well, was it cheating or an ingenious idea?
I don't really know, but it worked.
I figured out which bit was the corner of the one I was joining to and used it as a guide.
And on it went.
Anyone would think I'd done this before, I was on the 4th side already and only been working on it for a while today.... well... OK... 5 hours on and off...
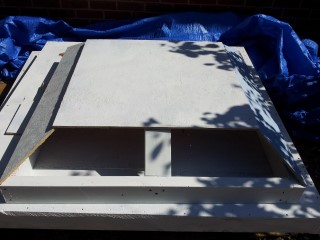
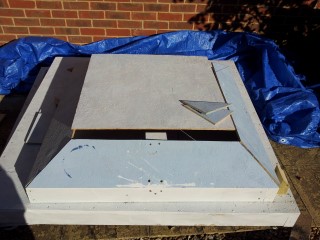
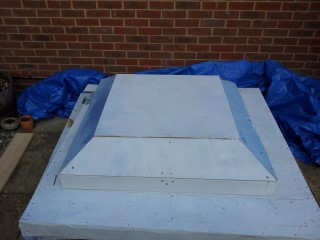
But using the existing corners, it was soon in shape and ready to be fitted.
And then fitted in place (not as simple as it seemed, as keeping it lined up with the other sides in one hand and holding the drill and screws in the other took quite a few goes!)

I'm not going to fix the very top in place just yet, as it might need a few bits of adjusting to size.
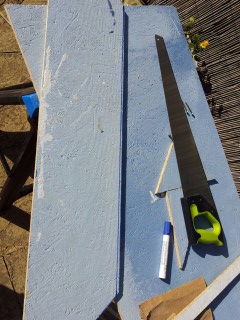
I also want to fill down the side joins, even though I'm planning to cover it with roofing felt.
I had to raise it up slightly so there is an even lip, helping the water run off (in theory)
I've just used an offcut for that. I have a feeling there won't be a lot wasted at this rate!
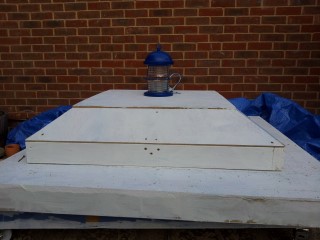
And here it is balanced in place.
Just for the hell of it, I had to sit the light on top!
And so ends Day 21.
Something to show for todays effort, probably a bit of luck as I'm not sure what I'll get done until next weekend.
It'll all depend on weather and work, maybe a bit of painting and filling if nothing else.
With one quote from The Doctor I can pretty much sum up my build so far (which is affectionately known as Project T)......
“Do what I do. Hold tight and pretend it's a plan!”
to be continued.......