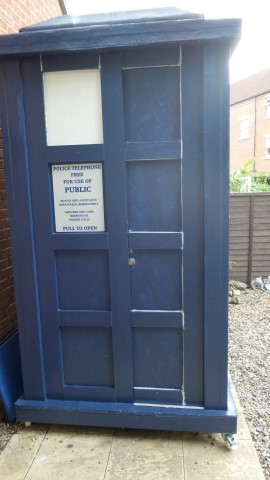
DAY 49
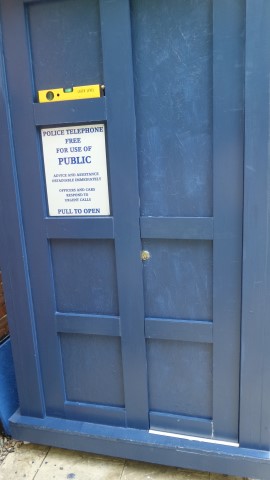
First up for today, I had to take the handle off as I put it in just the wrong place meaning the panelling couldn't go in line with the left side.
So that was removed and the panel just above the lock was glued in place.
While the glue was drying for that bit, a coat of white into the window areas (Zoe was doing that bit - me, trying to paint in a small square in just wouldn't work!).
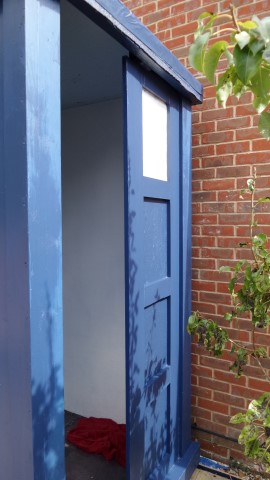
And then back to the front for the next width ways panel for me
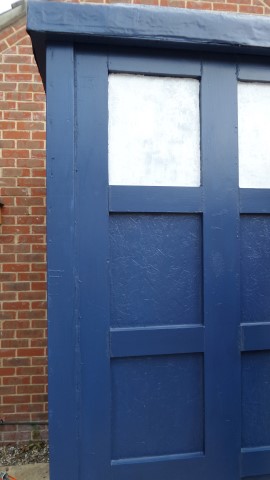
Both the side "windows" had been given a first coat by now (using the original weatherproof wood primer as I still had a new tin left).
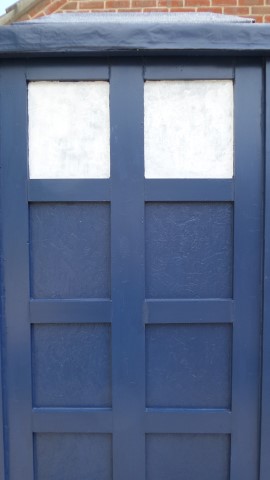
And also the one on the door halves which do not move
While that was happening I was trying to cut the smaller pieces.
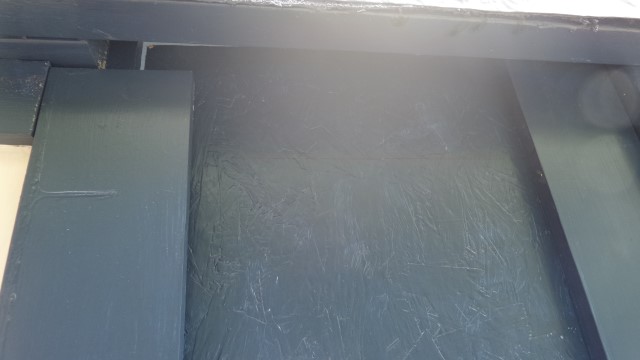
This is taken looking at the top of the front door, as you'll see the piece will need to be shaped to go over the center panel.
And after a few goes, it was about right, although I didn't remember to take the pic until after starting to put the glue on!
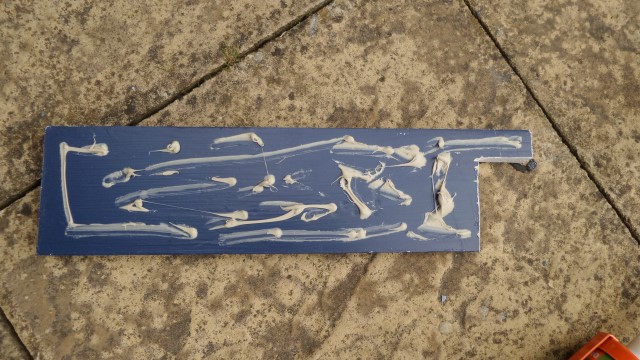
But sticking it on, it fits quite nicely, just enough gap to open & close but almost look like it's part of it
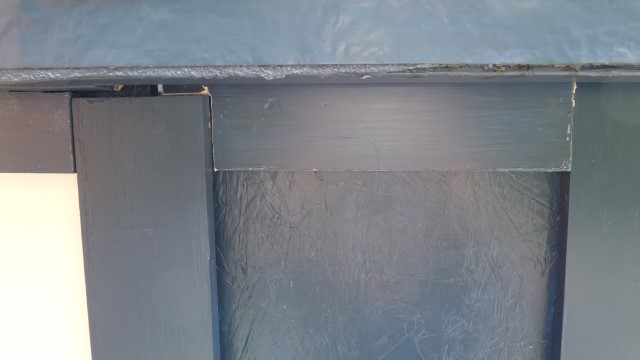
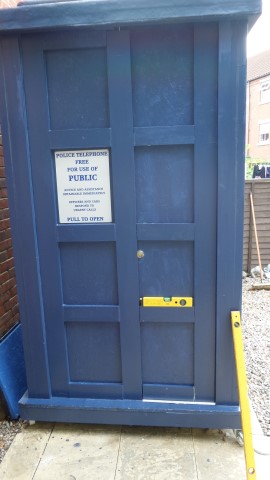
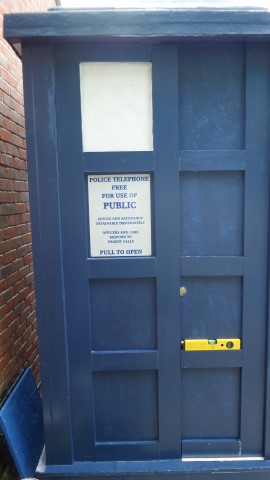
Before the day was out, there was just enough time to put the filler around the edges of all the front door pieces
And also I spotted I never did the filler down the back columns, so thought I'd just do a quick run down on the one I can get to as well.
Oh and you'll spot I've started to cut the wood to make the window frame, but that's just resting there at this point until I cut them all.
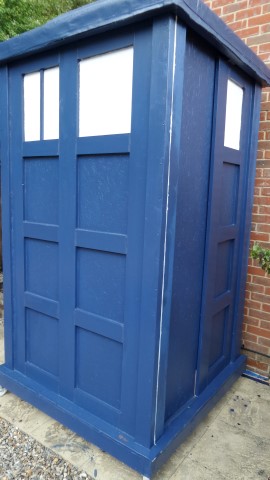
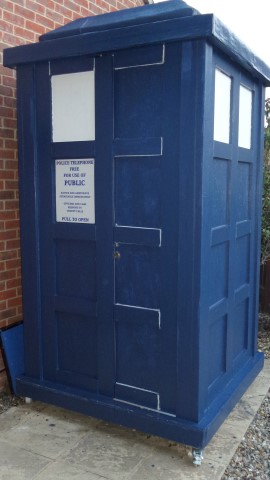
Then finally, a second coat to all the window areas so far and a last shot of the day.